How to Add a Connector to Local Agent (Magic xpi 4.14)
This page will guide you through the process of installing a connector in Local Agent. Here we will take the example of the JDBC connector.
|

|
Make sure that the following setup ready on your machine:
-
Local Agent is installed and the required connectors are present.
-
Local Agent Management Console is up and running.
-
Note that one additional step is required only for the JDBC connector. This is not applicable for the rest of the connectors.
Copy the required database driver jar files in the <LocalAgent Installation>\addons\<JDBC>\runtime\java\lib folder.
|
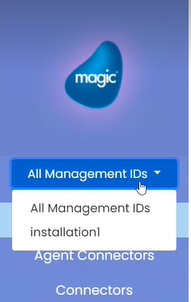
· Go to the Local Agent Management Console and expand the All Management IDs menu and select the required ID from the drop-down list.
· Go to the Connectors tab. Here click the Upload Connector button.
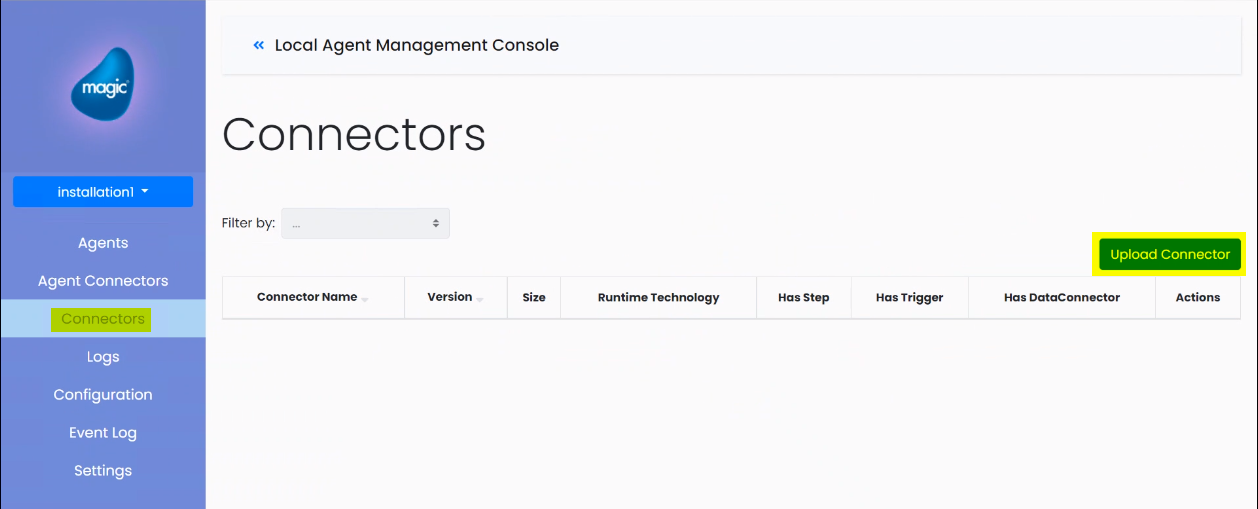
· Browse the <Magic xpi Installation>\Runtime\addon_connectors folder and select JDBC folder and click Upload. On this you will get two confirmation messages in the Management Console. There click Upload and OK respectively. With this the connector will get uploaded.
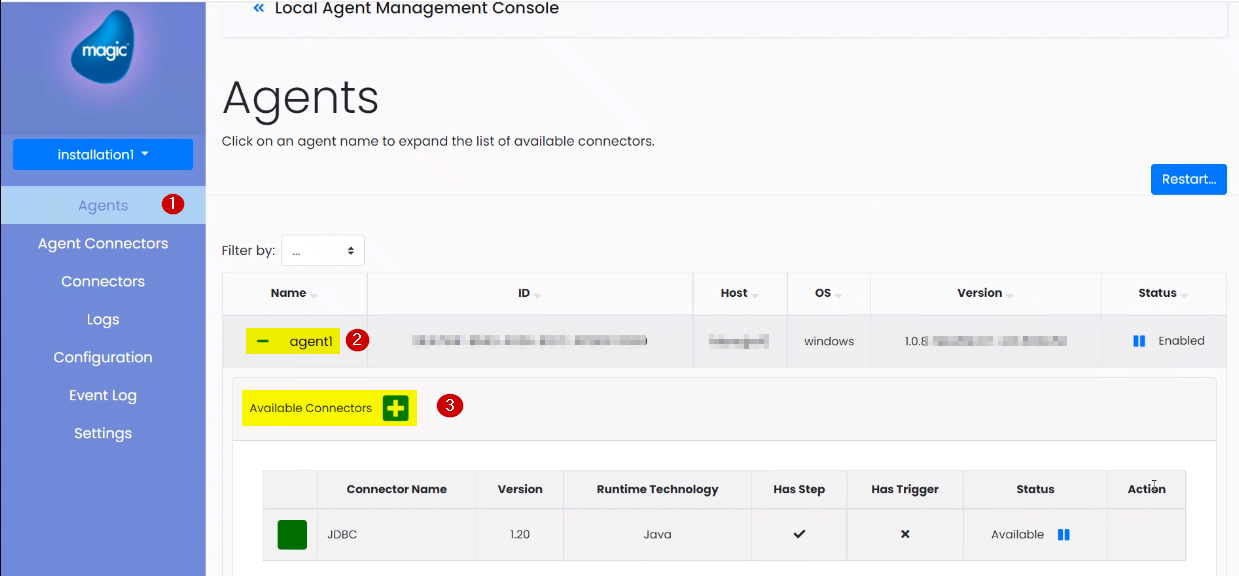
· Go to the Agents tab. Here select the Agent under the Name column and click the  button, in front of the selected Agent. With this you will see the Available Connectors under that Agent.
· Click Deploy Connector button () against the Available Connectors tab. With this a Select Connector window will open. Here you will see the list of uploaded connectors. Select the connector that you want to deploy and click the Deploy button. Click Ok in the confirmation dialog.
· As the connector gets deployed successfully, you will see it available under the Available Connectors list as shown in the image below:
Before running the project, you can check whether the connector is uploaded and deployed successfully. For this follow the steps given below:
· Go to the Agent Connectors tab. Click the Start New Agent Connector button.
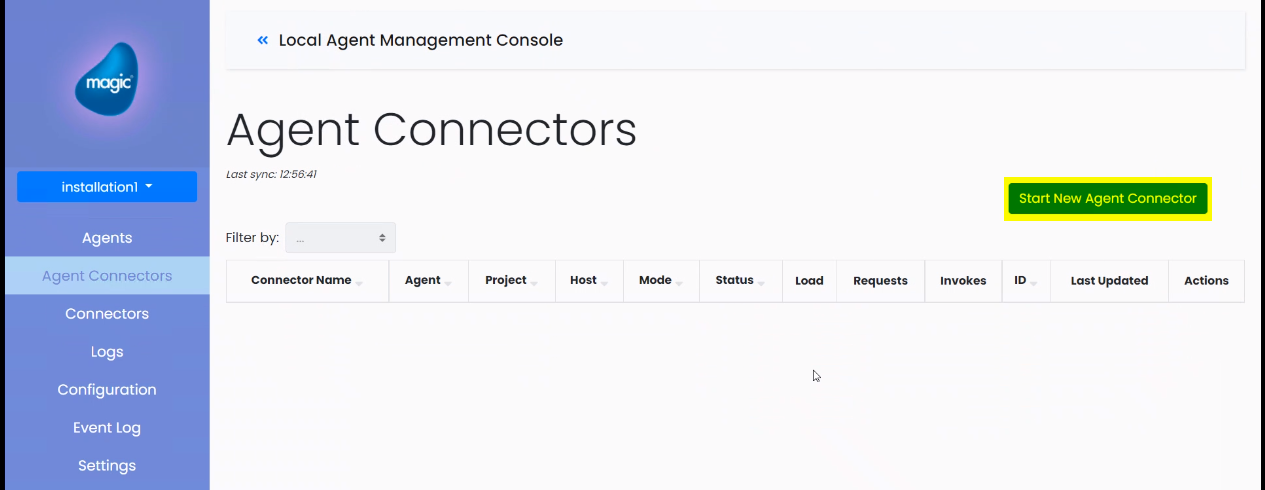
· In the Start Agent Connector window, select the relevant values and click Ok.
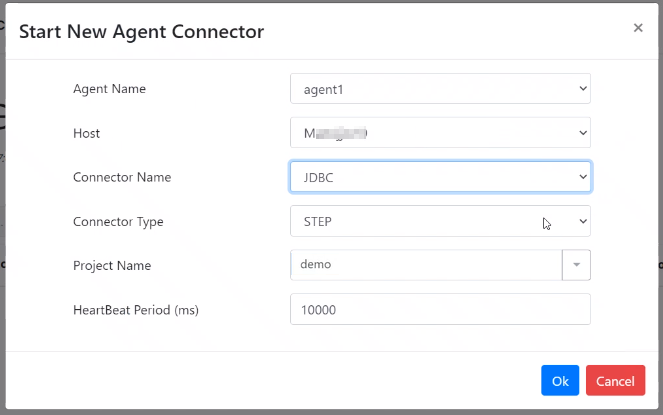
· You will be prompted with a confirmation dialog. Select Ok.
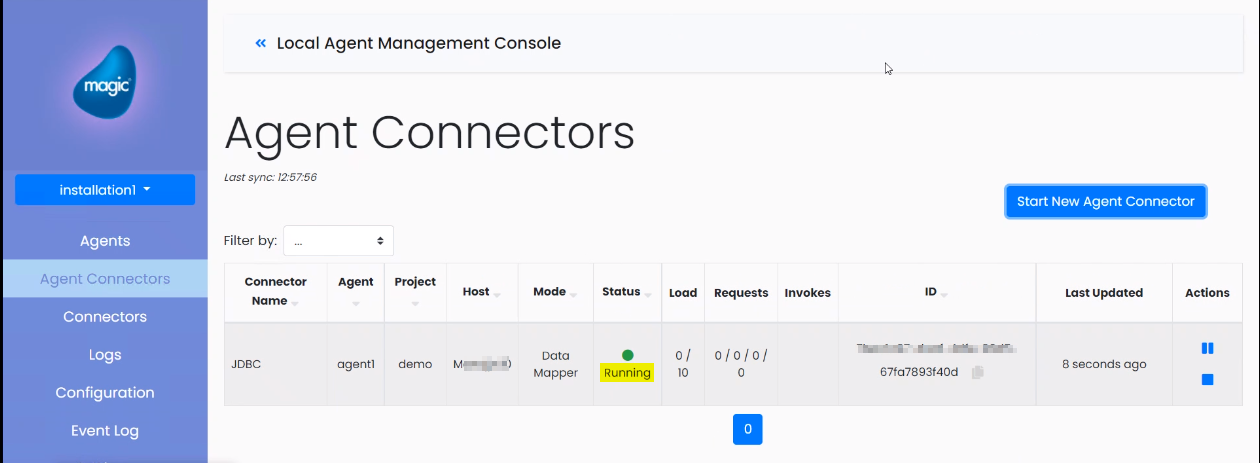
· You will now see the status of the connector changing from Starting to Running in the Agent Connectors tab.
· Next, create a new project in the xpi Studio.
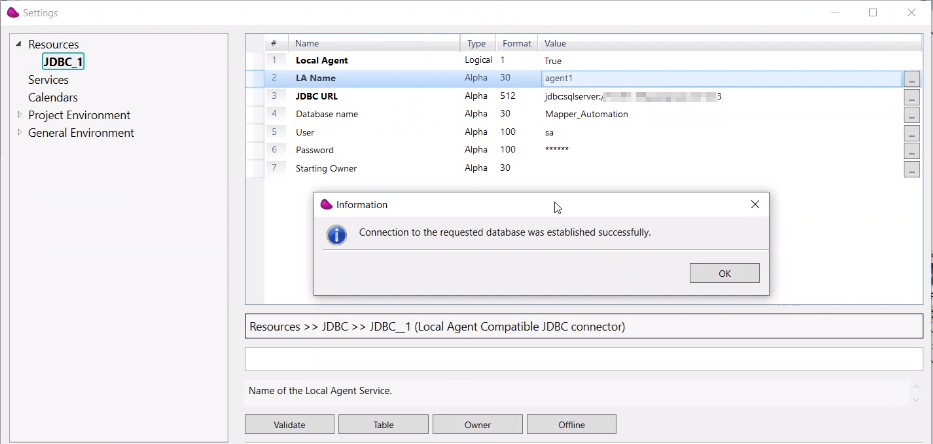
· Define a JDBC resource with Local Agent value set to True.
· Validate the resource as shown in the example below:

Setting up JDBC Connector under Local Agent
