Deploying Web Client Applications
The following assumptions are made before demonstrating deployment of a Web Client application:
Steps to Deploy a Web Client Application
Follow the given steps to deploy a Web Client application:
-
Make sure you have installed the URL Rewrite (https://www.iis.net/downloads/microsoft/url-rewrite).
-
Make sure you have a Magic server serving the relevant application (as configured in the server-config.json file).
-
Create a folder to place your web application (For example, D:\OneDrive\MagicProjects\Magic4\Angular\ToDoList), which can be at any path of your choice.
-
Create the application under IIS and link it.
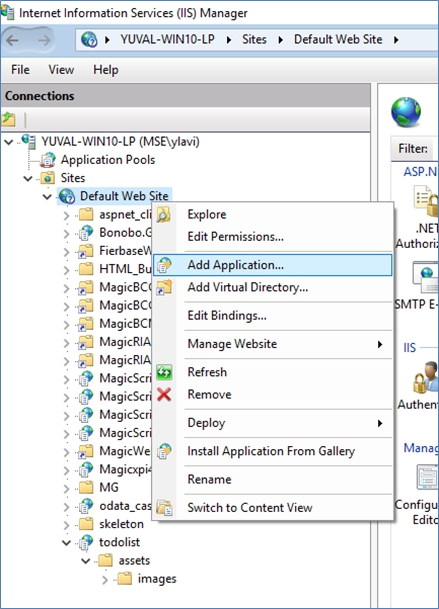
On creating the application, you get the following dialog box:

5. Build your Angular project using the following command:
ng build --prod
You will find a new folder under your Angular project folder called: dist\<app_name>
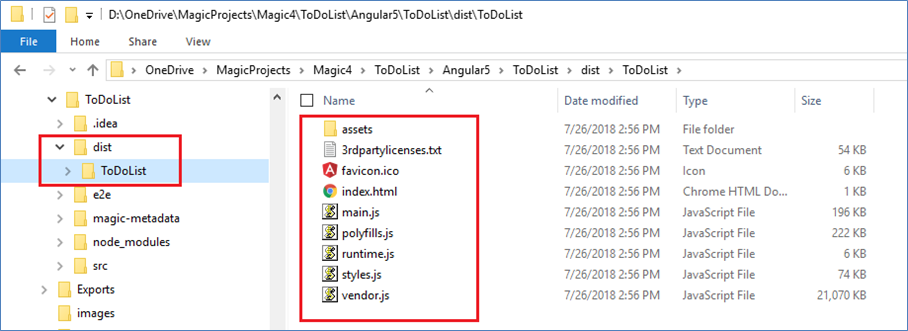
6. Copy the content of this folder to your application folder (c:\inetpub\wwwroot\<app_name>).
7. Create or Move the web.config file from the \assets folder in to the <app_name> folder.
This file should look - as shown:
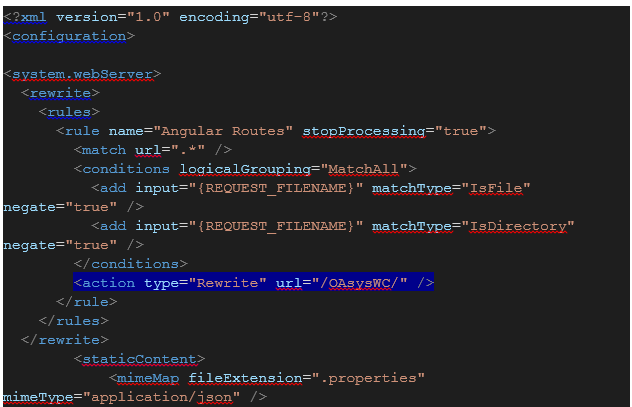
8. Make sure that you change the line: <action type="Rewrite" url="/OAsysWC/" /> to url=”/<your_app_name>/”.
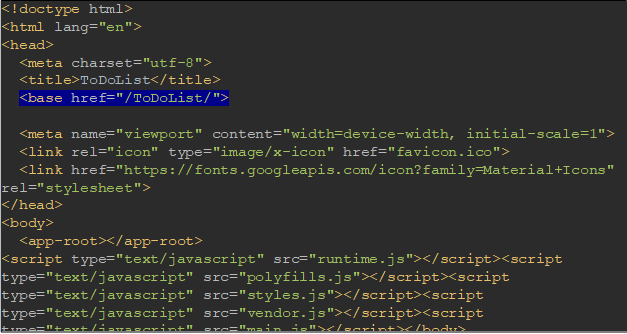
9. Change the base href in the index.html.
10. Make sure the server-config.json is configured per your server and <your_app_name>.
11. Point your browser to: https://<server>/<your_app_name> and it is done.
Deploying Web Client Application on DMZ Machine
