Defining Your Own Web Aliases (Magic xpa 2.x)
If you need to expose some files, it is recommended to define a new alias or aliases. You do this in IIS.
-
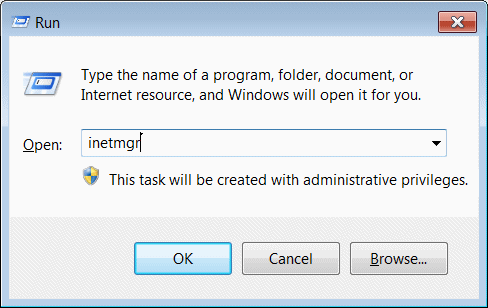
Open the IIS manager (type inetmgr in the Start > Run menu or right click on Computer and select Manage > Services and Applications > Internet Information Services (IIS) Manager).
-
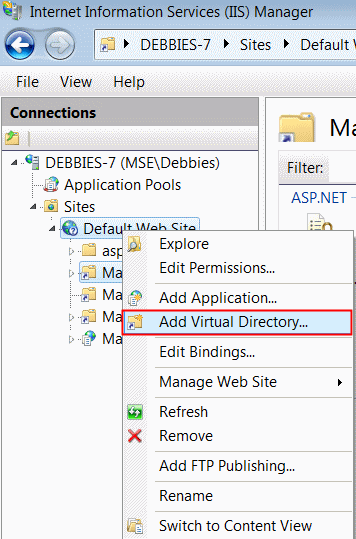
When the IIS Manager opens, right click on Default Web Site and select the Add Virtual Directory option.
-
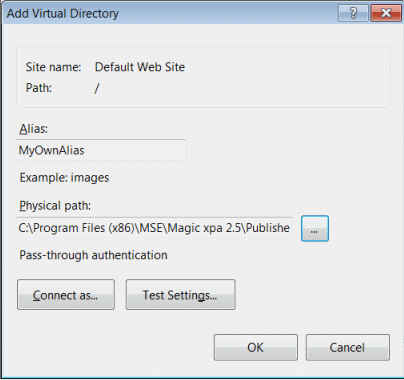
In the Add Virtual Directory dialog box, give your alias a name, select the physical path and click OK.
-
Give the new alias Execute permissions.
-
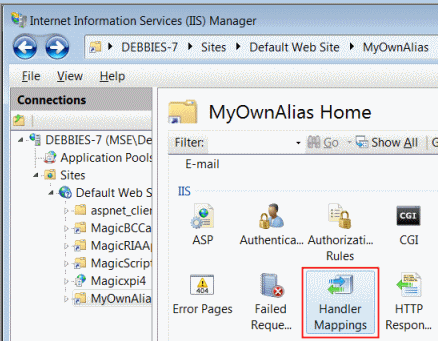
Park on the alias and double-click Handler Mappings.
-
Place your cursor on the relevant file (either ISAPI-dll or CGI-exe) and click the Edit Feature Permissions action.
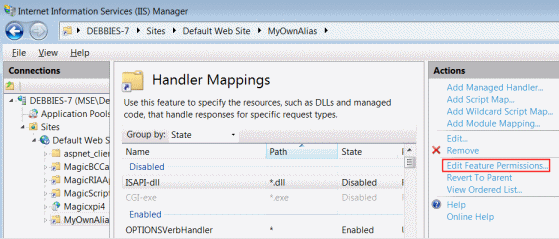
-
Select the Execute check box.
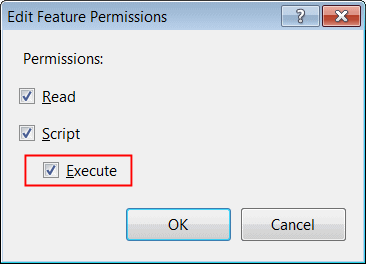
-
Check to see that the MGrqispi.dll and MGrqcgi.exe files also have Execute rights.
-
Go to the Root (which would be the machine name) in the Connections window.
-
Double click ISAPI and CGI Restrictions.
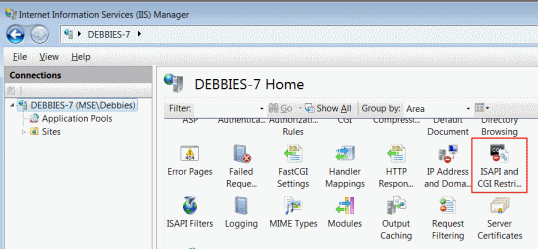
-
For the script that you want to work with, look at the Restricted column. If you see the word Allowed, then the Execute right is already assigned and you can skip steps 10-11.
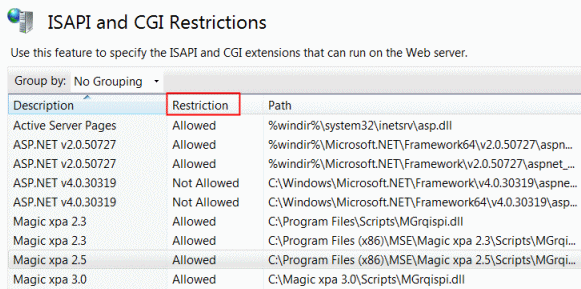
-
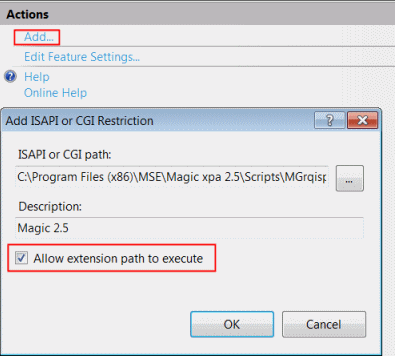
If it says Not Allowed, in the Actions window, click Add.
-
Provide the path of the MGrqispi.dll/MGrqcgi.exe and the description.
-
Select Allow extension path to execute and click OK.
-
Now you can use this alias whenever you refer to external files. Remember that you also need to define this alias in the exact same way in the deployment environment.

